Getting Started (a Scratch Tutorial)
The Getting Started (a Scratch Tutorial)” is an activity that helps new to Scratch students (and teachers) utilize the Scratch provided tutorials to complete an activity. The Scratch provided tutorials provide step by step embedded videos that identify and demonstrate the steps to each task. Students who need additional support can replay the videos for complete understanding.
In this activity, students will learn the basic programming elements to move the sprite (in this case the cat) several steps forward. Students will begin with learning how to select building blocks from different menus (beginning with the Blue menu of Motion) and how to execute an action by double-clicking on it. In this lesson students will progress to adding a sound every time the Sprite moves. Students will learn how to select building blocks from the Sound Menu, and how to interconnect two building blocks in order to execute them at the same time.
Materials
-
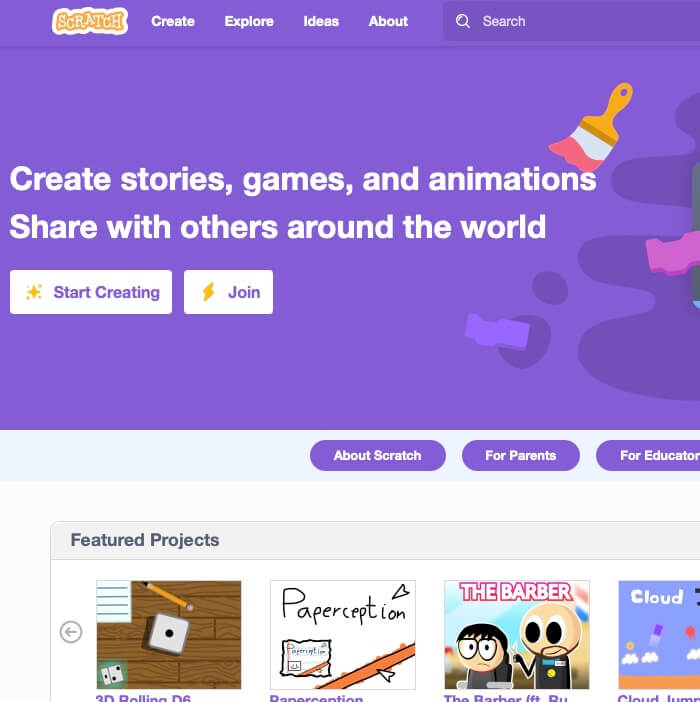
https://scratch.mit.edu/projects/editor/?tutorial=all
https://scratch.mit.edu/projects/editor/?tutorial=all -
Motion Blocks Discussion Questions
https://docs.google.com/document/d/1KLndANUvI4zyZ6VrXW730P1eL-qnJWxwc8bgJpQyFk8/edit?usp=sharing -
Looks Blocks Discussion Questions
https://docs.google.com/document/d/1Xr2-cZ1DBM9Je0GcIAXCjQ7fEa73We9Qe-fhMgX27m0/edit?usp=sharing -
Events Blocks Discussion Questions
https://docs.google.com/document/d/1Q0NCU-zW5DKFNHBd-Fu8v2qODlcExbYPuWXLHDPFVx8/edit?usp=sharing
Lesson Plan
Step 1: Have students open Scratch with the following instructions:
-
- Open a web browser and go to https://scratch.mit.edu.
- Click “Create” to start a new Scratch project.
Step 2: Instruct students to access the Scratch Tutorial “Getting Started” with the following steps:
-
- Click the Tutorials button in the top row of the Scratch editor.
- Find and select “Getting Started” from the list.
- Watch the first tutorial video for an introduction to Scratch (either as a group or individually).
- Show students how to pause and replay the videos if they need assistance with the steps and want to see the instructions again.
- When done with the first video press the green arrow on the right to go to the next step.
Step 3: Instruct students to complete the following steps to move the Sprite Forward:
-
- After watching the first video and clicking the arrow an animation will display to “add a move block”.
- Watch and discuss this animation.
- Use the following discussion questions:
- What color is the move block in the animation?
- What menu would we find the move block under?
- How many steps does the block show as a default?
- What part of the block can we edit?
- Motion Blocks Discussion Questions
- Now locate the Code tab at the top-left of the screen.
- Click on the Blue Motion Menu on the left-hand side.
- Drag the “Move 10 Steps” block into the scripting area.
- Double-click the block to see the cat (Sprite) move forward.
- Change the number inside the block to see how it affects the movement.
- When done with this step press the green arrow on the right to go to the next step.
Step 4: Instruct students to complete the following steps to add a say block to the movement block:
-
- Watch and discuss this animation.
- Use the following discussion questions:
- What color is the new block in the animation?
- What menu would we find the new block under?
- What does the new block make the sprite “say”?
- How long will the sprite display the words the sprite will “say”?
- What part(s) of the block can we edit?
- Looks Blocks Discussion Questions
- Click on the Purple Looks Menu on the left-hand side.
- Drag the “Say Hello! For 2 seconds” block into the scripting area.
- Connect the “Say Hello! For 2 seconds” block below the “Move 10 Steps” block.
- Double-click the connected blocks to see the cat move and display the words.
- When done with this step press the green arrow on the right to go to the next step.
Step 5: Instruct students to complete the following steps to run the Code with an Event:
-
- Watch and discuss this animation.
- Use the following discussion questions to think about the importance of “events” and to activate prior knowledge of where they might use a function like an “event” in other areas of their lives:
- What color is the new block in the animation?
- What menu would we find the new block under?
- Event Blocks Discussion Questions
- Click on the Yellow Events Menu on the left-hand side.
- Drag the “When Green Flag Clicked” block into the scripting area.
- Connect it above the other two blocks.
- Click the Green Flag at the top of the screen to start the program.
- Observe how the cat moves and look when you click the flag.
Step 6: Save the Project
- Click File and select “Save now” if signed in to your Scratch account.
Step 1: Have students open Scratch with the following instructions:
-
- Open a web browser and go to https://scratch.mit.edu.
- Click “Create” to start a new Scratch project.
Step 2: Instruct students to access the Scratch Tutorial “Getting Started” with the following steps:
-
- Click the Tutorials button in the top row of the Scratch editor.
- Find and select “Getting Started” from the list.
- Watch the first tutorial video for an introduction to Scratch (either as a group or individually).
- Show students how to pause and replay the videos if they need assistance with the steps and want to see the instructions again.
- When done with the first video press the green arrow on the right to go to the next step.
Step 3: Instruct students to complete the following steps to move the Sprite Forward:
-
- After watching the first video and clicking the arrow an animation will display to “add a move block”.
- Watch and discuss this animation.
- Use the following discussion questions:
- What color is the move block in the animation?
- What menu would we find the move block under?
- How many steps does the block show as a default?
- What part of the block can we edit?
- Motion Blocks Discussion Questions
- Use the following discussion questions:
- Now locate the Code tab at the top-left of the screen.
- Click on the Blue Motion Menu on the left-hand side.
- Drag the “Move 10 Steps” block into the scripting area.
- Double-click the block to see the cat (Sprite) move forward.
- Change the number inside the block to see how it affects the movement.
- When done with this step press the green arrow on the right to go to the next step.
Step 4: Instruct students to complete the following steps to add a say block to the movement block:
-
- Watch and discuss this animation.
- Use the following discussion questions:
- What color is the new block in the animation?
- What menu would we find the new block under?
- What does the new block make the sprite “say”?
- How long will the sprite display the words the sprite will “say”?
- What part(s) of the block can we edit?
- Looks Blocks Discussion Questions
- Use the following discussion questions:
- Click on the Purple Looks Menu on the left-hand side.
- Drag the “Say Hello! For 2 seconds” block into the scripting area.
- Connect the “Say Hello! For 2 seconds” block below the “Move 10 Steps” block.
- Double-click the connected blocks to see the cat move and display the words.
- When done with this step press the green arrow on the right to go to the next step.
- Watch and discuss this animation.
Step 5: Instruct students to complete the following steps to run the Code with an Event:
-
- Watch and discuss this animation.
- Use the following discussion questions to think about the importance of “events” and to activate prior knowledge of where they might use a function like an “event” in other areas of their lives:
- What color is the new block in the animation?
- What menu would we find the new block under?
- Event Blocks Discussion Questions
- Use the following discussion questions to think about the importance of “events” and to activate prior knowledge of where they might use a function like an “event” in other areas of their lives:
- Click on the Yellow Events Menu on the left-hand side.
- Drag the “When Green Flag Clicked” block into the scripting area.
- Connect it above the other two blocks.
- Click the Green Flag at the top of the screen to start the program.
- Observe how the cat moves and look when you click the flag.
- Watch and discuss this animation.
Step 6: Save the Project
- Click File and select “Save now” if signed in to your Scratch account.
Tips for Running Activity
Take time to explore and discuss the blocks with the menus. Encourage students to experiment and customize the blocks. Early experimentation and discussion when introducing Scratch will enable students with the skills and confidence to produce engaging and creative animations of their own.
Take time to explore and discuss the blocks with the menus. Encourage students to experiment and customize the blocks. Early experimentation and discussion when introducing Scratch will enable students with the skills and confidence to produce engaging and creative animations of their own.
Take time to explore and discuss the blocks with the menus. Encourage students to experiment and customize the blocks. Early experimentation and discussion when introducing Scratch will enable students with the skills and confidence to produce engaging and creative animations of their own.
Extension Opportunities
Experiment & Customize
- Encourage students to change the number of steps in the “Move 10 Steps” block to make the cat move farther or shorter distances. Experiment with step sizes: very small, small, larger, very large.
- Ask students to try to click on the “Looks” tab and choose a different look effect for the Sprite.
Try adding a “Repeat” block from the Control Menu to make the movement happen multiple times.
- Experiment with a combination of moves, such as dances: two, three, more steps in a dance. Select and combine short and long steps.
The last section of the tutorial offers “More things to try.” If your students have additional time, allow them the opportunity to explore the opportunity to “Add a backdrop” and “Add a sprite.”
Experiment & Customize
- Encourage students to change the number of steps in the “Move 10 Steps” block to make the cat move farther or shorter distances. Experiment with step sizes: very small, small, larger, very large.
- Ask students to try to click on the “Looks” tab and choose a different look effect for the Sprite.
Try adding a “Repeat” block from the Control Menu to make the movement happen multiple times. - Experiment with a combination of moves, such as dances: two, three, more steps in a dance. Select and combine short and long steps.
The last section of the tutorial offers “More things to try.” If your students have additional time, allow them the opportunity to explore the opportunity to “Add a backdrop” and “Add a sprite.”